| Return Create A Forum - Home | |
| --------------------------------------------------------- | |
| Old Leafsprung Land Rovers | |
| https://ollr.createaforum.com | |
| --------------------------------------------------------- | |
| ***************************************************** | |
| Return to: Technical Archive | |
| ***************************************************** | |
| #Post#: 2355-------------------------------------------------- | |
| Fitting a Detroit locker into the rear axle on a 101 | |
| By: chally2 Date: January 9, 2012, 10:32 am | |
| --------------------------------------------------------- | |
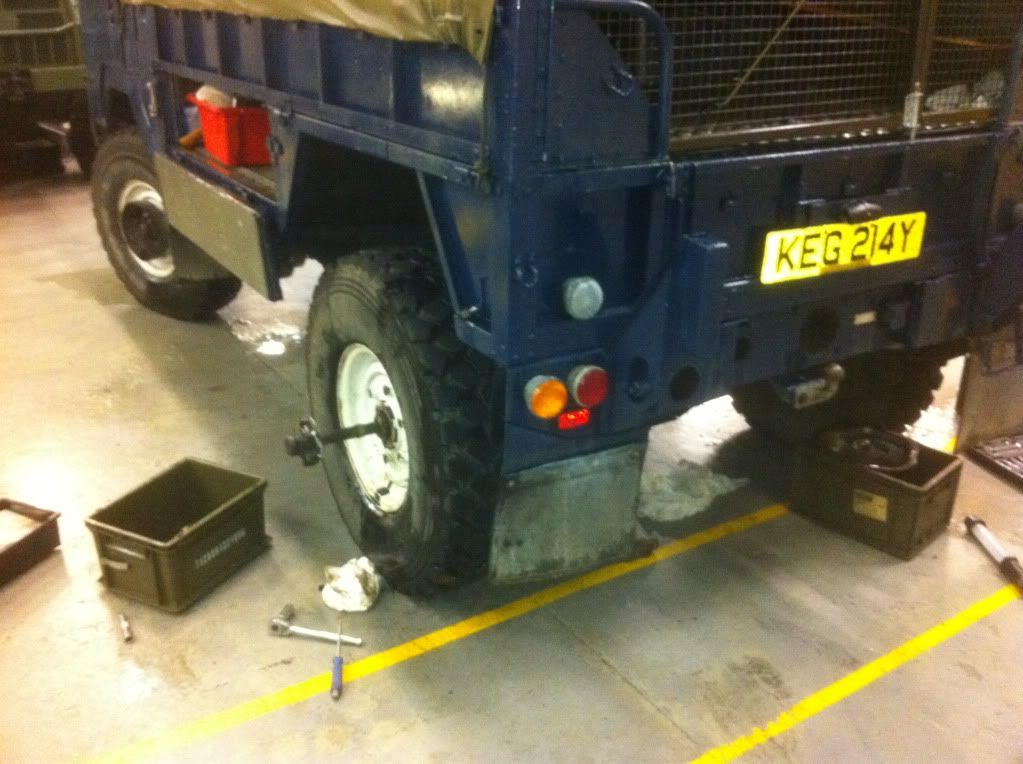
| Fitting a Detroit locker into the rear axle on a Land Rover 101 | |
| 1. | |
| 2. | |
| apportioning valve. | |
| http://i1093.photobucket.com/albums/i422/robinchallacombe/rear%20diff/IMG_0187.… | |
| 3. | |
| and on what side they go. | |
| http://i1093.photobucket.com/albums/i422/robinchallacombe/rear%20diff/IMG_0188.… | |
| 4. | |
| http://i1093.photobucket.com/albums/i422/robinchallacombe/rear%20diff/IMG_0191.… | |
| 5. | |
| the correct holes. | |
| http://i1093.photobucket.com/albums/i422/robinchallacombe/rear%20diff/IMG_0190.… | |
| 6. | |
| diff without a spreader. Well I didn't take any photos as I was | |
| struggling but it can be done. I did it be getting two longish | |
| pipes/bars whatever and levering it out. | |
| http://i1093.photobucket.com/albums/i422/robinchallacombe/rear%20diff/bars2.jpg | |
| This is roughly where the bars went. Some times on the other | |
| side. At first you think It's not coming out because in the | |
| back of your head you know you should be using a spreader, but | |
| then you hit a sweet spot and it moves a smidge. Then you will | |
| work out how to get it out. By the time I finished my front one | |
| it was coming in and out no problem. I would advise having a | |
| mate because it is heavy when it comes out and you don't want it | |
| landing on you head. | |
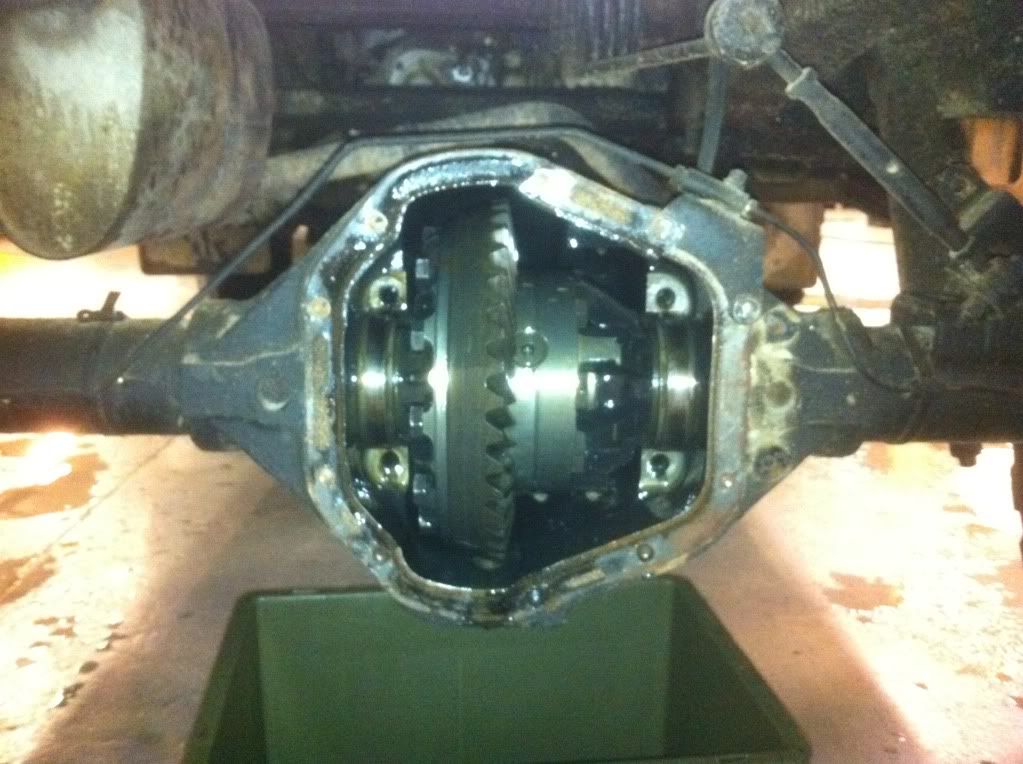
| 7. | |
| http://i1093.photobucket.com/albums/i422/robinchallacombe/rear%20diff/IMG_0192.… | |
| Now the casing needs a good clean out. | |
| 8. | |
| If you use a ratchet or spanner then you will have to hold on to | |
| the diff tightly to stop it turning. The most difficult part | |
| was the removal of the bearings. You do need to remove them to | |
| take the diff apart. | |
| There are only 2 points were a bearing puller can locate and I | |
| had to grind mine down to fit. Because it locates onto the | |
| shims there isn't much grip. Eventually I took off the outer | |
| race, heated the inner one up with oxy acetylene and removed it | |
| but even then it was hard work. It may be easier to cutting off | |
| if you don't have a torch or trying to use a bearing splitter. | |
| That's what I will try next time. | |
| Remember not mix the shims when you do get it off and keep them | |
| separate so you know what side they go back on. I had spare | |
| shims. As some were damaged, I swapped like for like. | |
| Once you have undone it, clean it out and remove the inner | |
| gubbings. The inner spacers are no long needed. | |
| http://i1093.photobucket.com/albums/i422/robinchallacombe/rear%20diff/IMG_0193.… | |
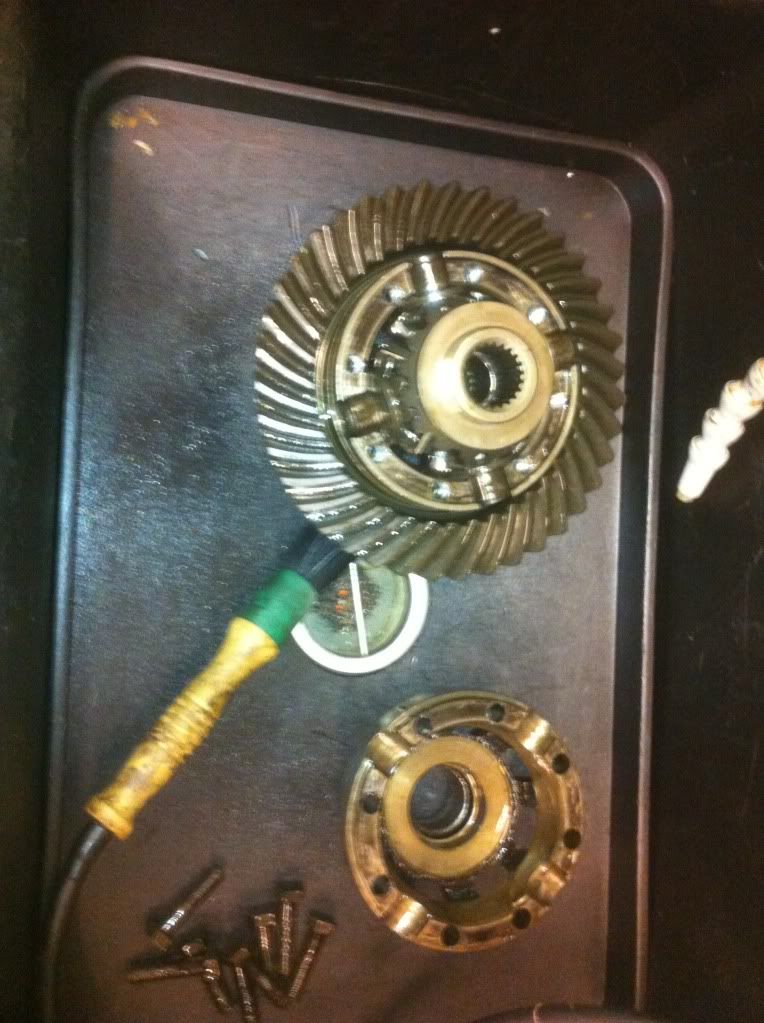
| 9. | |
| Place it in the right way round but don't undo the butterfly nut | |
| yet. | |
| http://i1093.photobucket.com/albums/i422/robinchallacombe/rear%20diff/IMG_0194.… | |
| Ironically I went to a lot of effort to get side gears for my | |
| broken front diff, but the rear side gears are no longer needed. | |
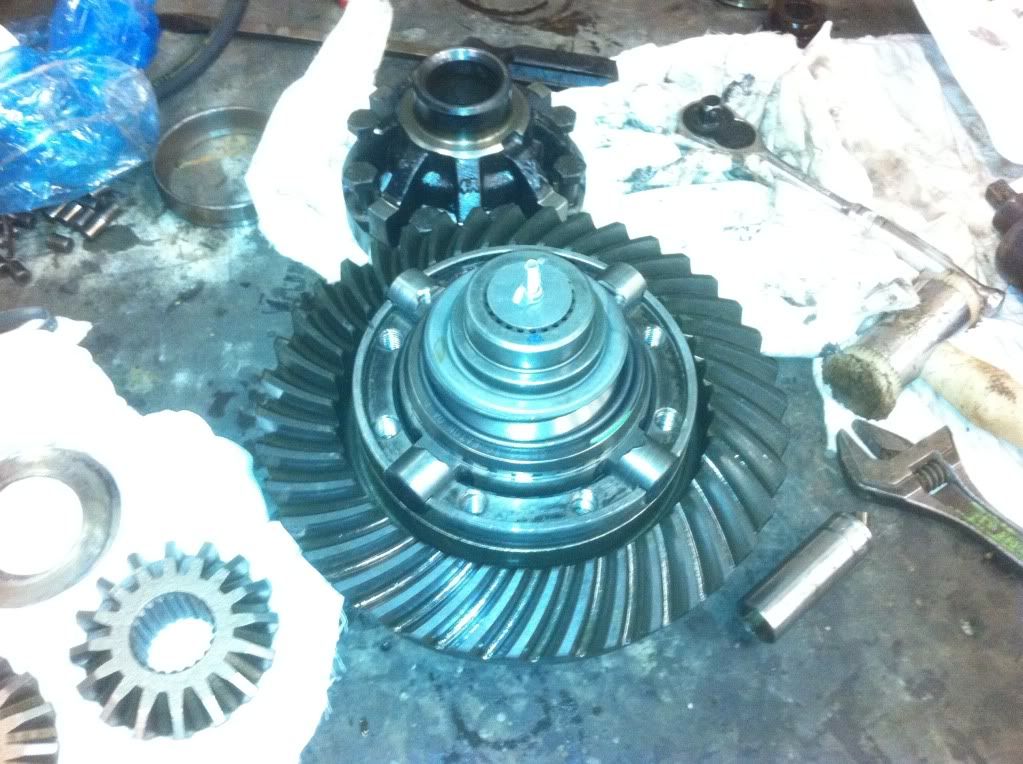
| Refit the other half (use lock tight stud grade) I did it up | |
| using a windy gun because I didn't have any one or thing to hold | |
| onto it as I did the bolts up. Fit shims to correct side and | |
| place on new bearings. I used a press but tapping on with the | |
| old bearings should work. Now you can undo the butterfly nut. | |
| 10. | |
| Well again I thought it's not going back in and I started to | |
| despair. But have confidence, there are little knacks to get it | |
| back in. | |
| It's very awkward especially with the outer bearing races | |
| wanting to do their own thing. | |
| First get comfortable have a large screwdriver, nylon hammer the | |
| two bearing shell caps ready to go on the right side, ratchet at | |
| the ready. | |
| After you had your wheatabix, you need to raise the diff and | |
| roughly place it into the case. It will go in a little low. | |
| Get your large screwdriver and raise the diff and you should get | |
| a reassuring clunk as it semi locates. Get your nylon hammer, | |
| and tap on both sides until you can get the bearing caps on and | |
| the 4 bolts locate into their holes, slowly do up a couple of | |
| flats at a time evenly. Eventually it goes all the way home. | |
| Lovely. | |
| 11. | |
| bearing cap bolts apply lock tight stud grade and torque up. | |
| (Please note really you should be doing the back lash test and | |
| double checking your diff is in the right place reference to the | |
| pinion. The easiest way is to check the load pattern using | |
| engineers blue. I didn't do it for this one but will be doing | |
| it for the front as that is a total ring and pinion | |
| replacement,) | |
| 12. | |
| with copper slip. | |
| 13. | |
| 14. | |
| stated in the manual | |
| 15. | |
| 16. | |
| Tools used | |
| � | |
| � | |
| � | |
| � | |
| � | |
| � | |
| � | |
| � | |
| � | |
| � | |
| � | |
| � | |
| � | |
| ***************************************************** |