| Return Create A Forum - Home | |
| --------------------------------------------------------- | |
| Old Leafsprung Land Rovers | |
| https://ollr.createaforum.com | |
| --------------------------------------------------------- | |
| ***************************************************** | |
| Return to: Technical Archive | |
| ***************************************************** | |
| #Post#: 11779-------------------------------------------------- | |
| 2.25 injection pump filter change | |
| By: eddie hitler Date: February 17, 2012, 3:19 pm | |
| --------------------------------------------------------- | |
| my attempt at a how to thread... | |
| at work a 2.25 injector pump came in with a lack of power and | |
| poor starting, the owner had changed the fuel filter, draind the | |
| tank and flushed the fuel lines after some 'dodgey' diesel had | |
| been used. | |
| there is another filter in the inlet of the injector pump. | |
| changeing this filter is a relatively esay diy job (however his | |
| pump was too far gone hence its part-striped state) | |
| http://i446.photobucket.com/albums/qq190/eddie_hitler/start13.jpg | |
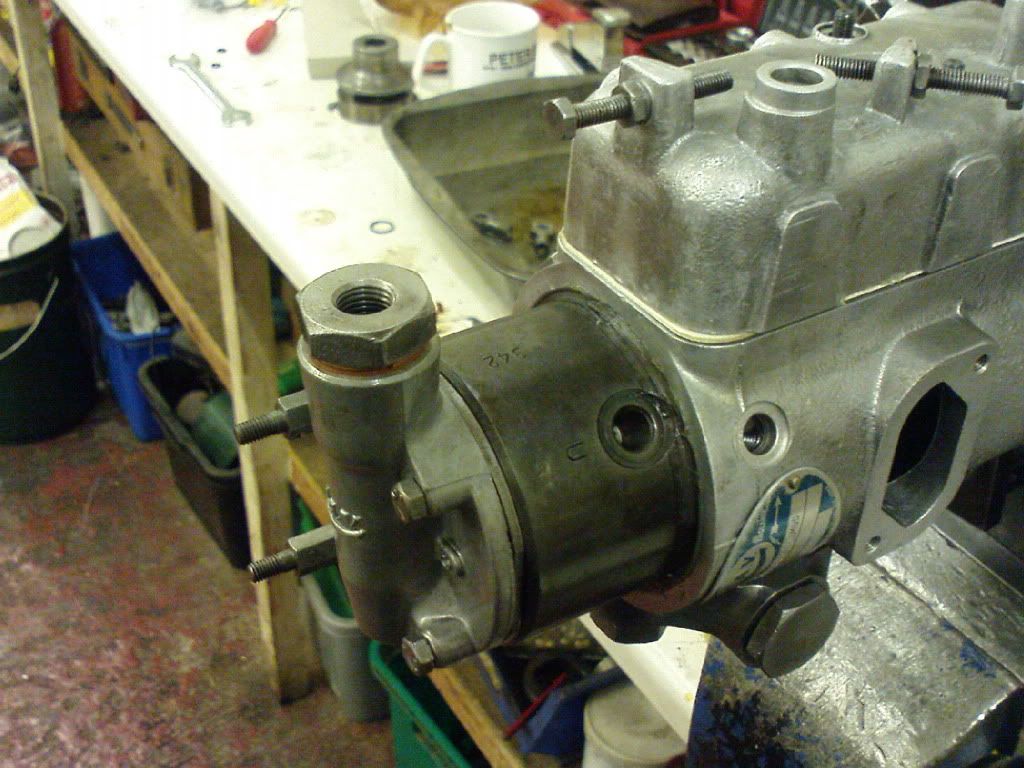
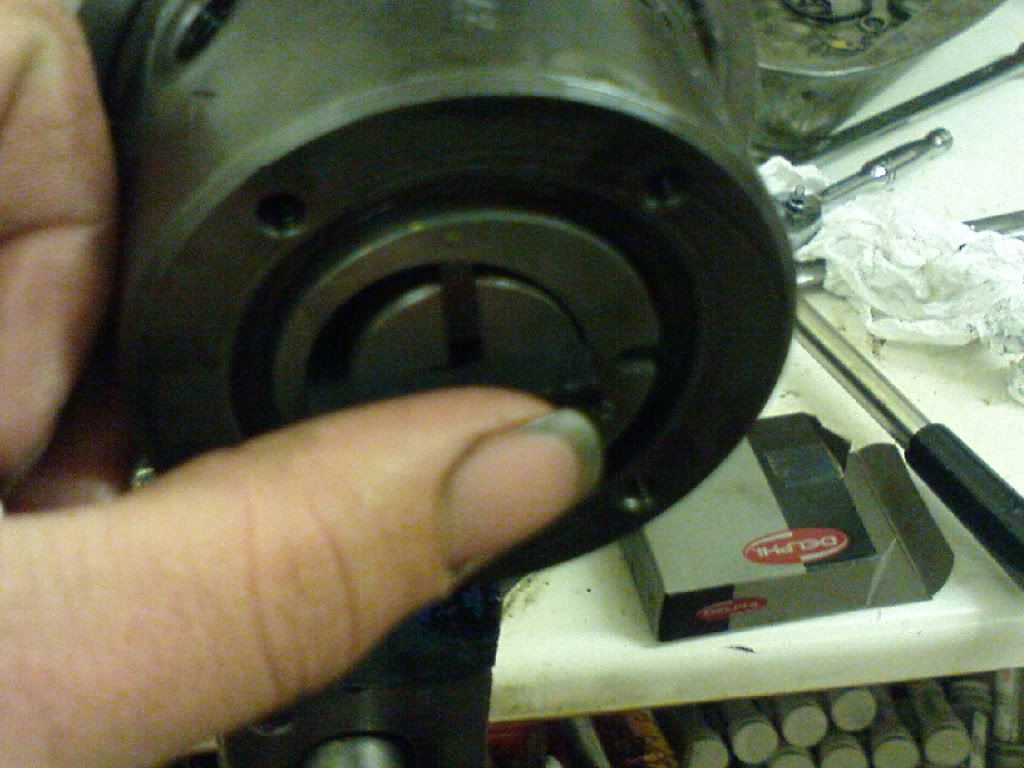
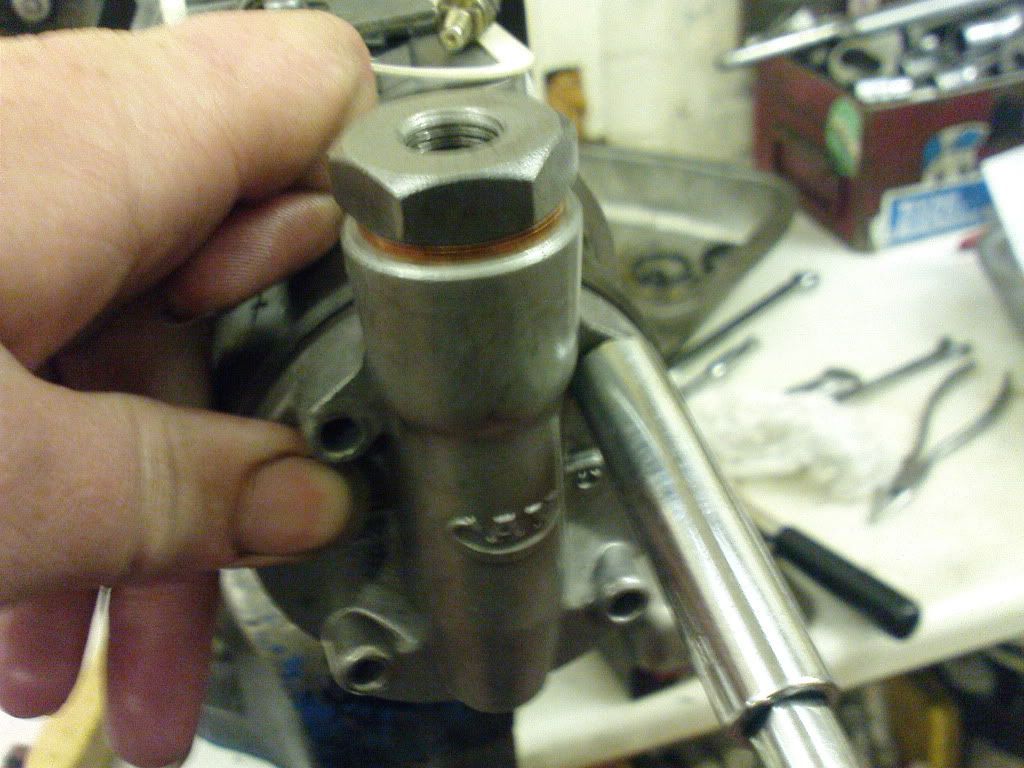
| this ally casting is the transfer pump housing, before unbolting | |
| slacken but do not remove the 24mm plug on top, then remove the | |
| four 8mm bolts holding the casting to the head (the steel bit) | |
| http://i446.photobucket.com/albums/qq190/eddie_hitler/start14.jpg | |
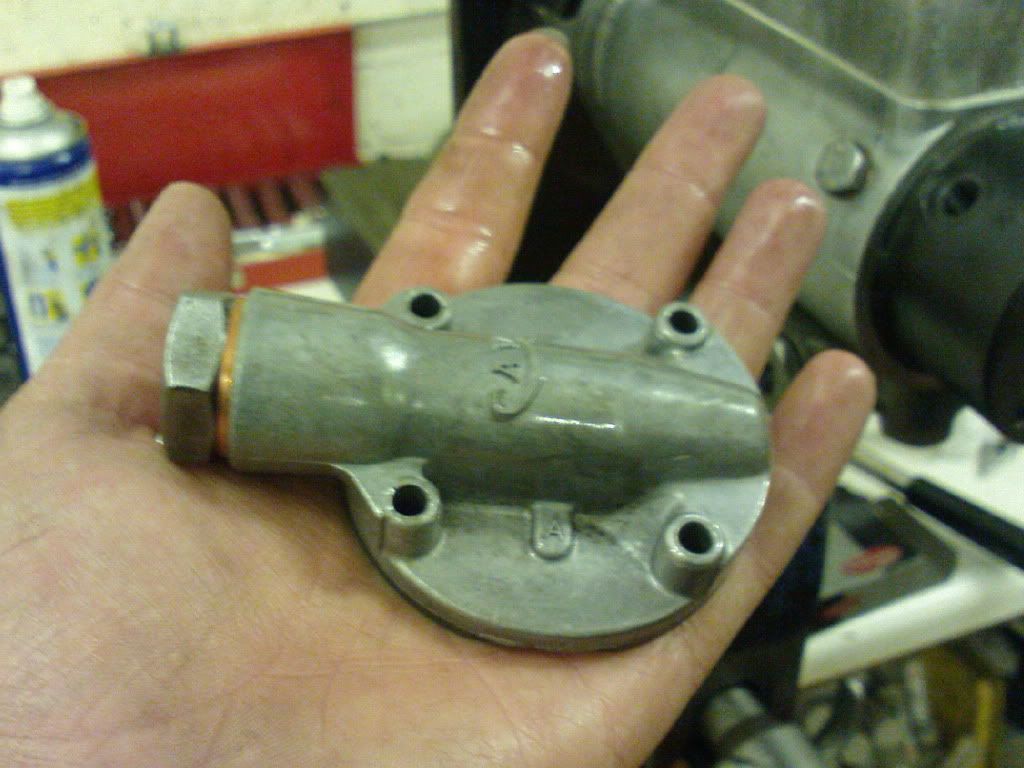
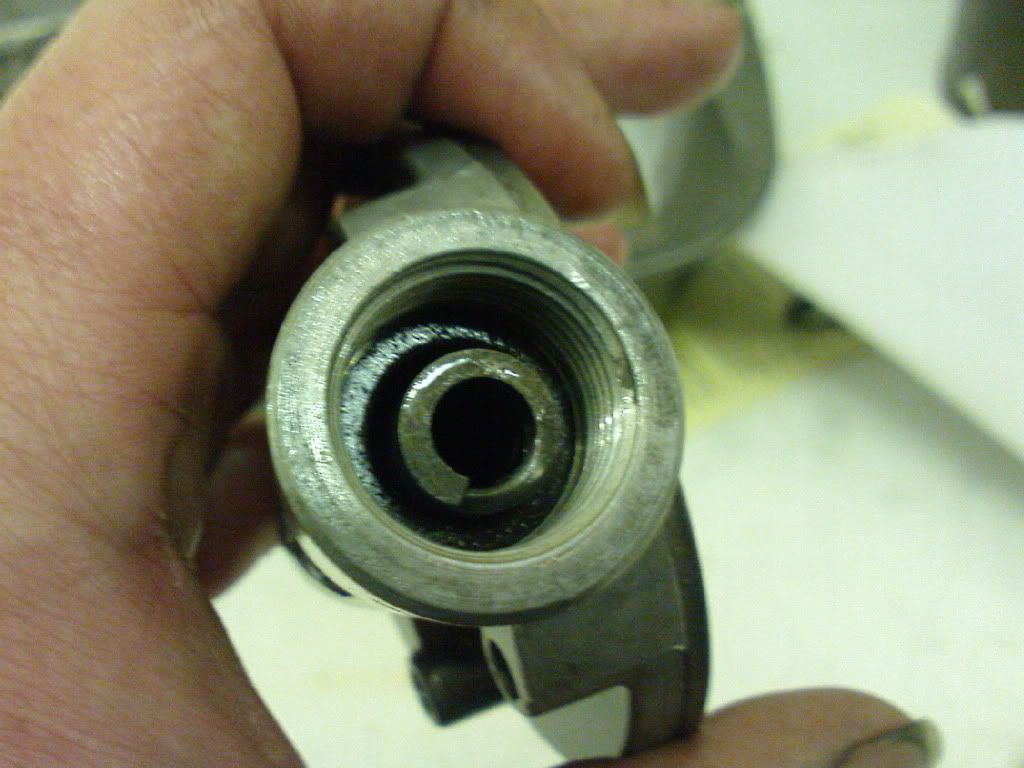
| remove the casting | |
| http://i446.photobucket.com/albums/qq190/eddie_hitler/start8.jpg | |
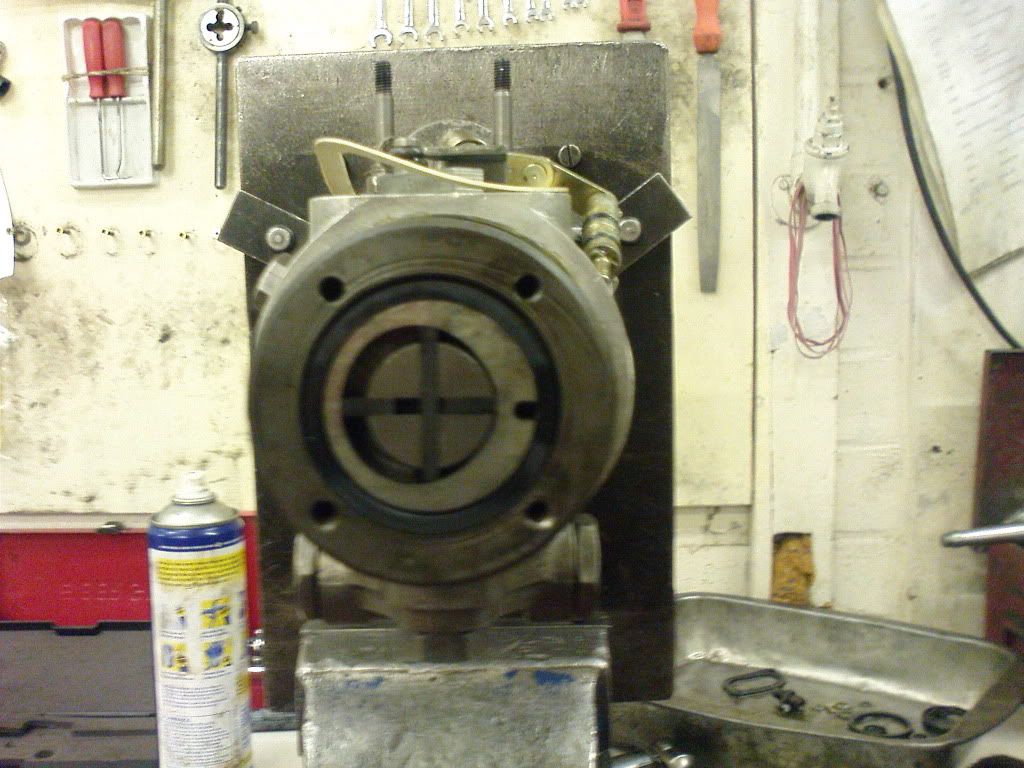
| at this point it is wise to replace the transfer pump blades , | |
| these are made of graphite and are quite easly broken | |
| http://i446.photobucket.com/albums/qq190/eddie_hitler/start10.jpg | |
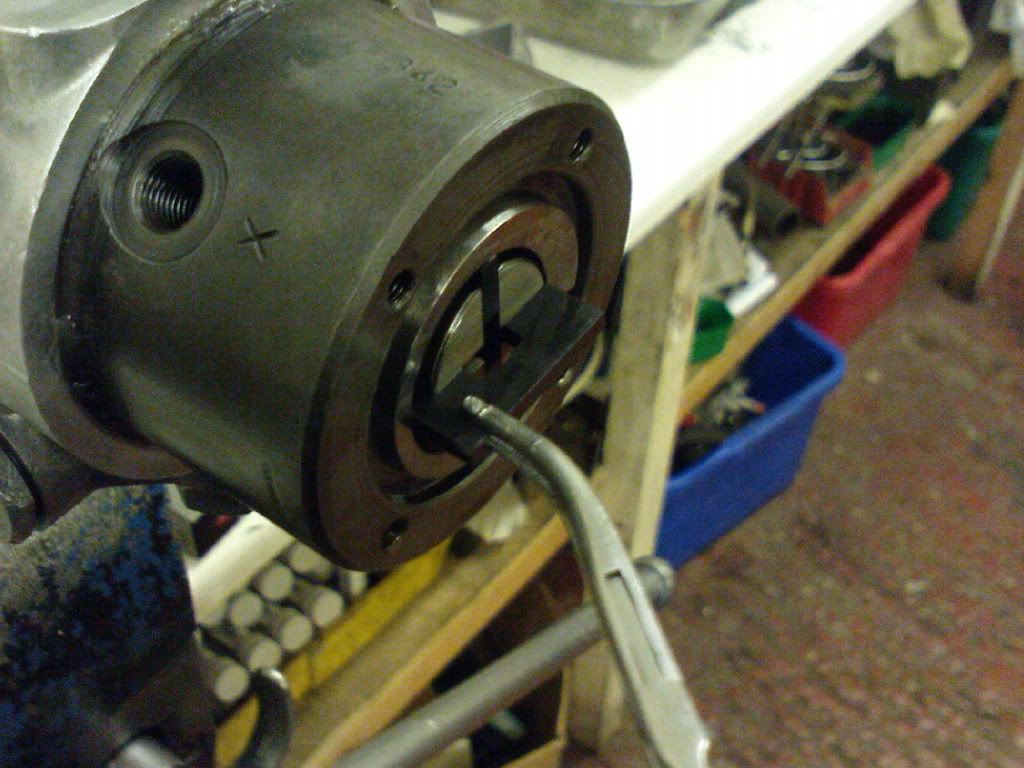
| remove them with a pair of long nosed plyers | |
| http://i446.photobucket.com/albums/qq190/eddie_hitler/start19.jpg | |
| gently push the new blades in, you might need to lubericate them | |
| with diesel | |
| http://i446.photobucket.com/albums/qq190/eddie_hitler/DSC01004.jpg | |
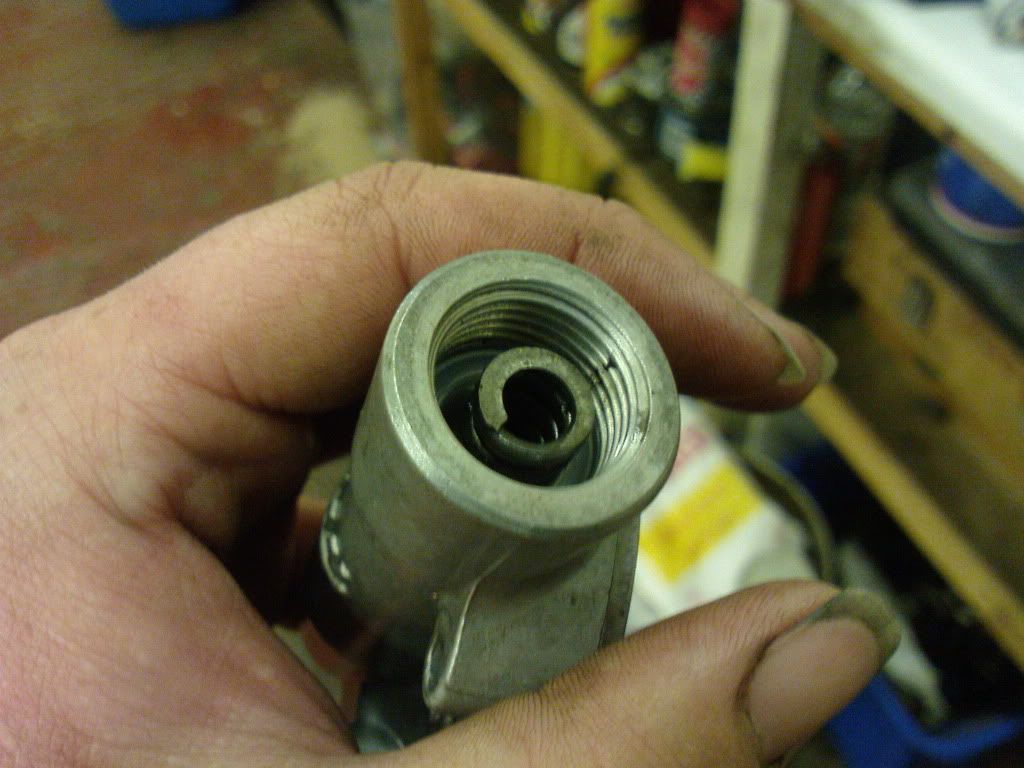
| back to the filter, take the casing inside as there are a few | |
| small bits that if droped wont be found again! unscrew the top | |
| plug and remove the spring or tip the contents on to the bench | |
| (2 springs a spring cap/shim and a piston) | |
| http://i446.photobucket.com/albums/qq190/eddie_hitler/DSC01005.jpg | |
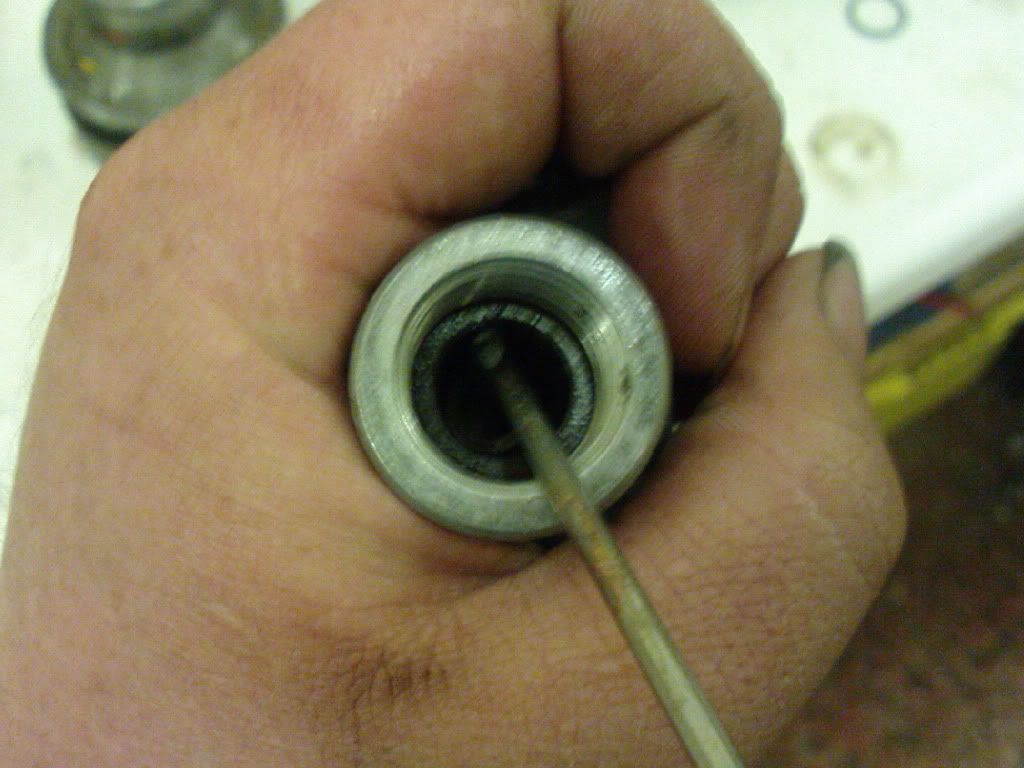
| carefully remove the plastic filter with a small screw driver | |
| http://i446.photobucket.com/albums/qq190/eddie_hitler/start3.jpg | |
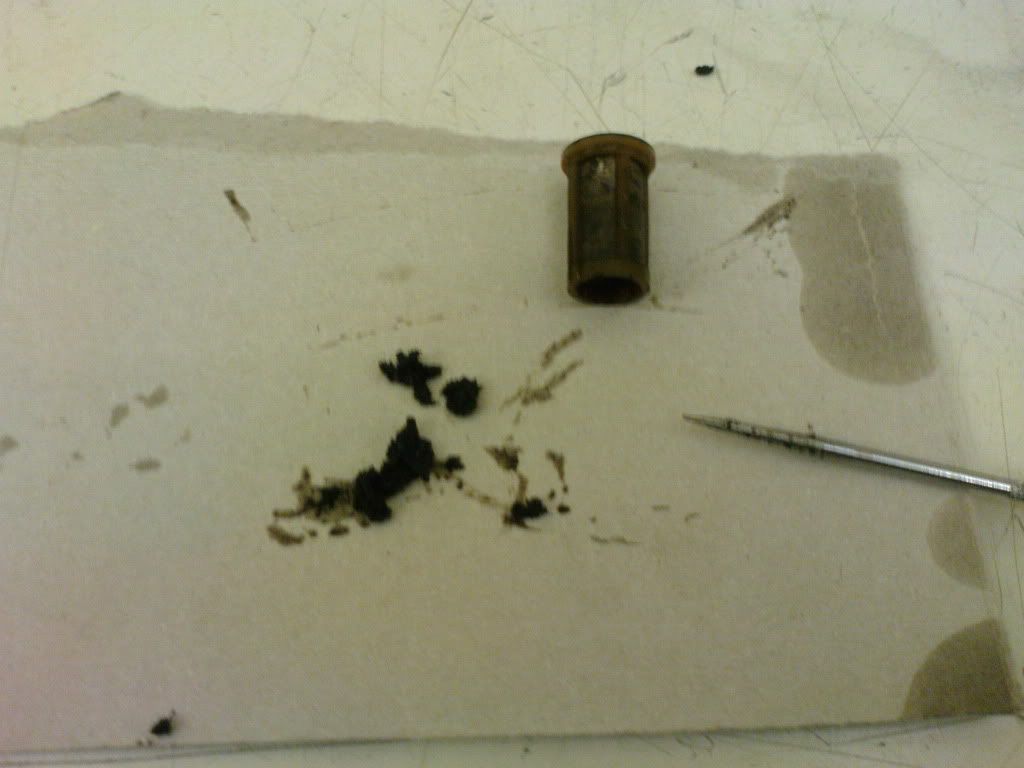
| the old filter next to the new one, this ones in a very bad | |
| state | |
| http://i446.photobucket.com/albums/qq190/eddie_hitler/start5.jpg | |
| as can be seen by the amount of muck removed | |
| http://i446.photobucket.com/albums/qq190/eddie_hitler/DSC00995.jpg | |
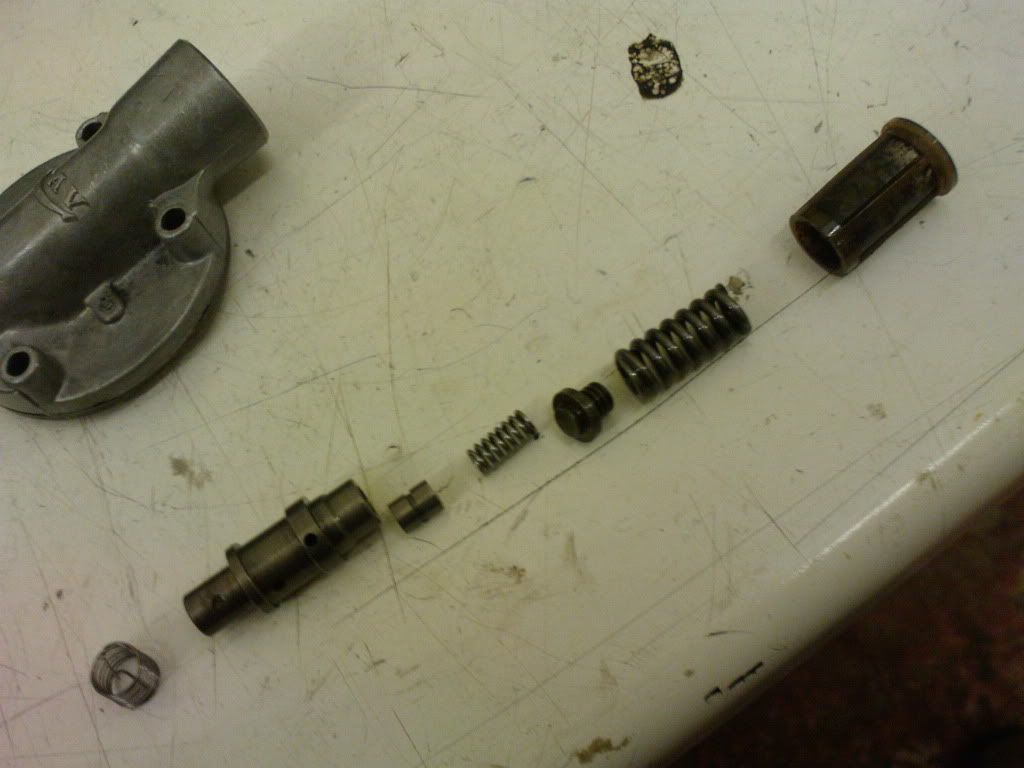
| with the filter removed the rest of the inards should fall out | |
| from left to right, hair spring, piston housing, piston, small | |
| spring, spring cap, main spring and filter. | |
| http://i446.photobucket.com/albums/qq190/eddie_hitler/DSC01007.jpg | |
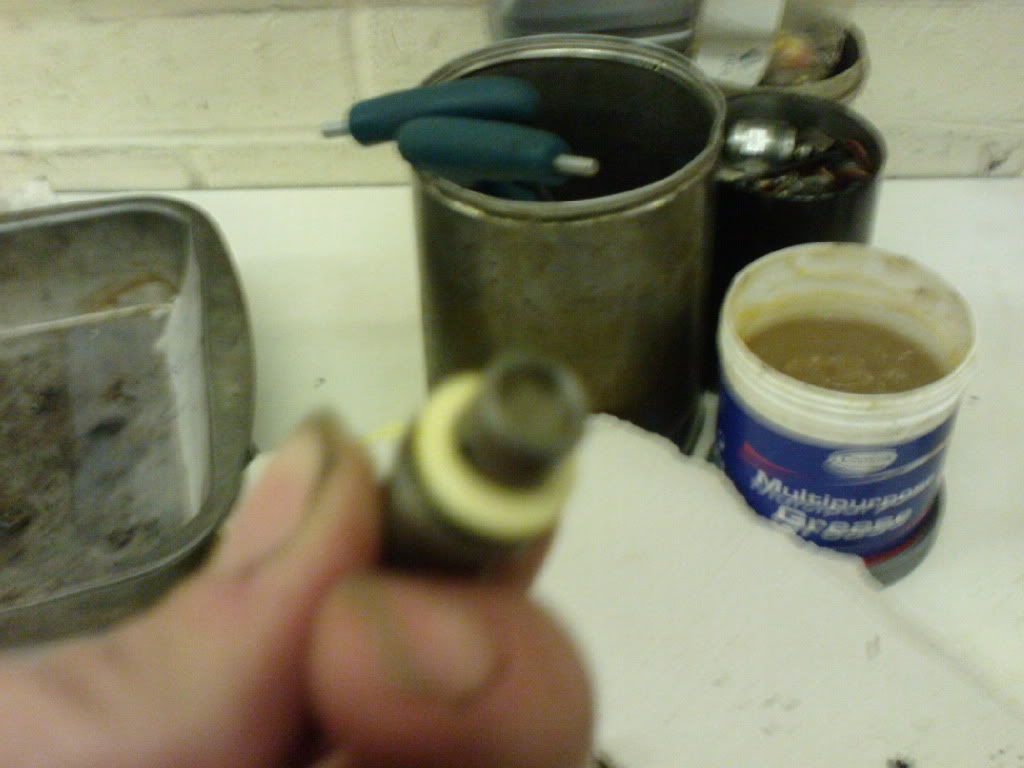
| remove whats left of the card washer (some may be on the housing | |
| and some left inside the casing) and replace with a new one. | |
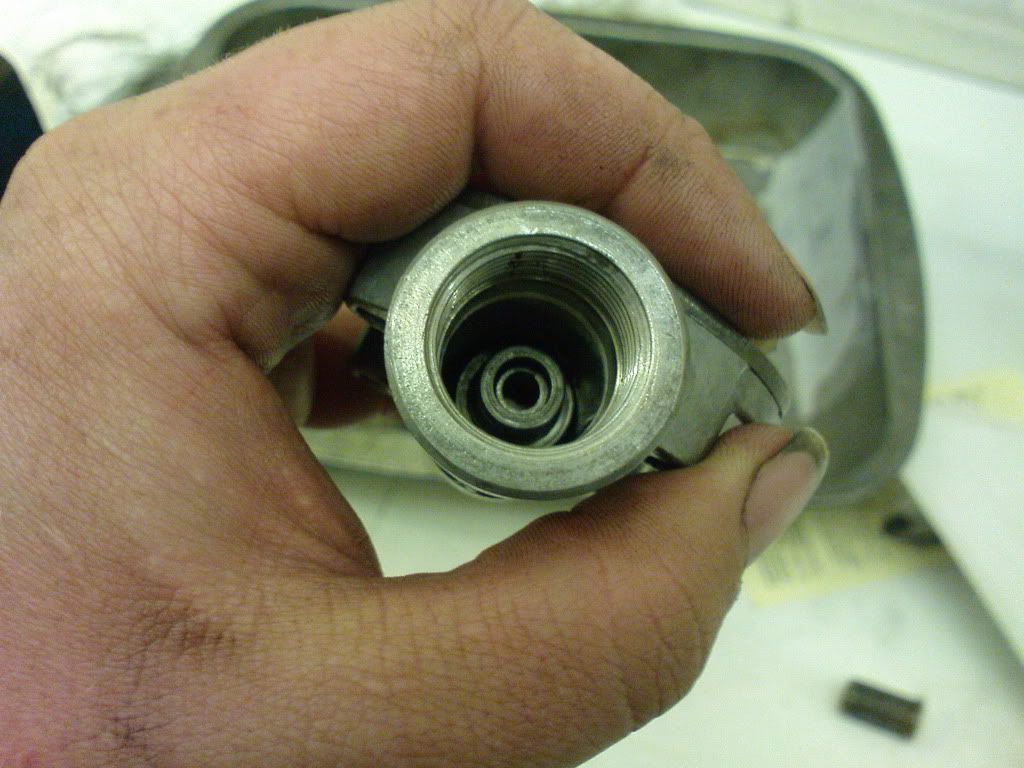
| to reassemble put the hair spring back into the bottom of the | |
| casing, it can be a pain to get to to lie right. | |
| http://i446.photobucket.com/albums/qq190/eddie_hitler/DSC01006.jpg | |
| place the piston in its housing (it's not handed) and replace in | |
| the caseing (the card washer end down) | |
| http://i446.photobucket.com/albums/qq190/eddie_hitler/DSC01017.jpg | |
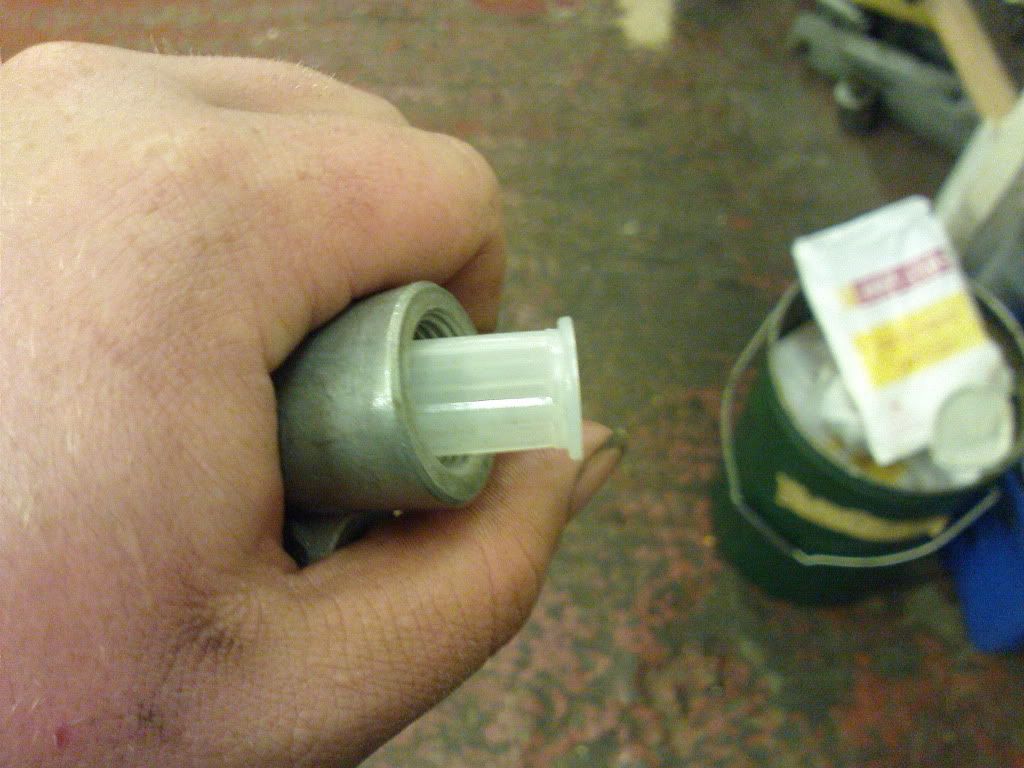
| next the filter... | |
| http://i446.photobucket.com/albums/qq190/eddie_hitler/DSC01015.jpg | |
| then the small spring (shown without the filter) | |
| http://i446.photobucket.com/albums/qq190/eddie_hitler/start27.jpg | |
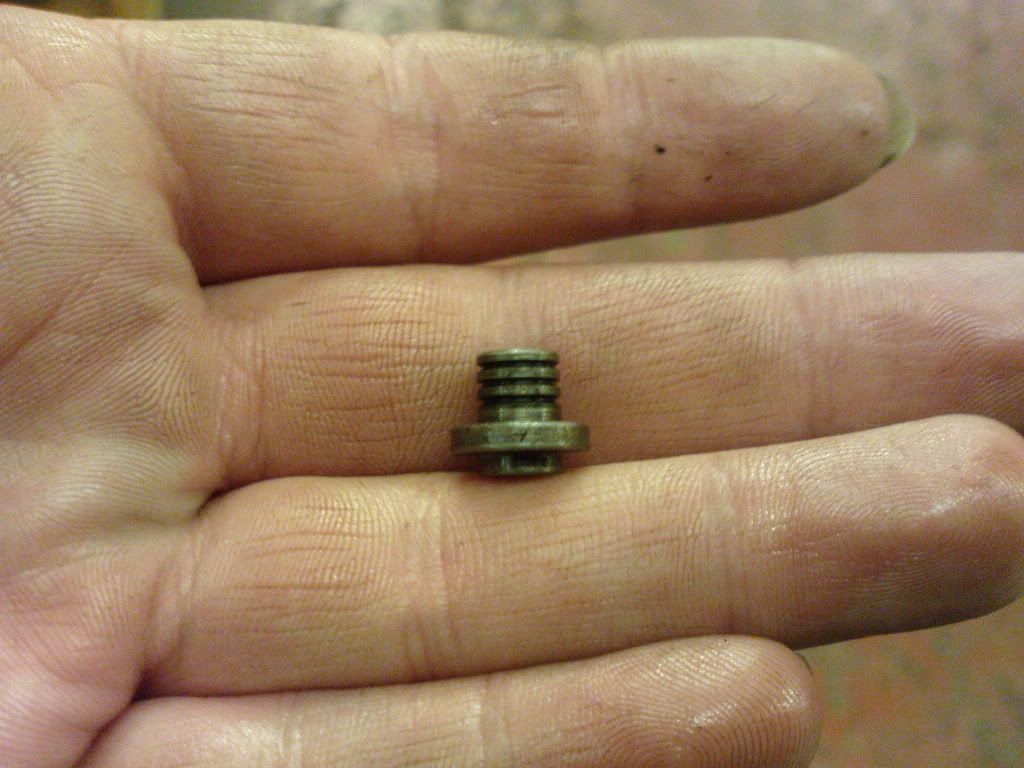
| this is the spring cap the end with the three lines sits inside | |
| the large spring. a small amount of grease may be needed to hold | |
| it into the large spring | |
| http://i446.photobucket.com/albums/qq190/eddie_hitler/start28.jpg | |
| fit the large spring then replace the 24mm cap useing a new | |
| copper washer | |
| http://i446.photobucket.com/albums/qq190/eddie_hitler/DSC01028.jpg | |
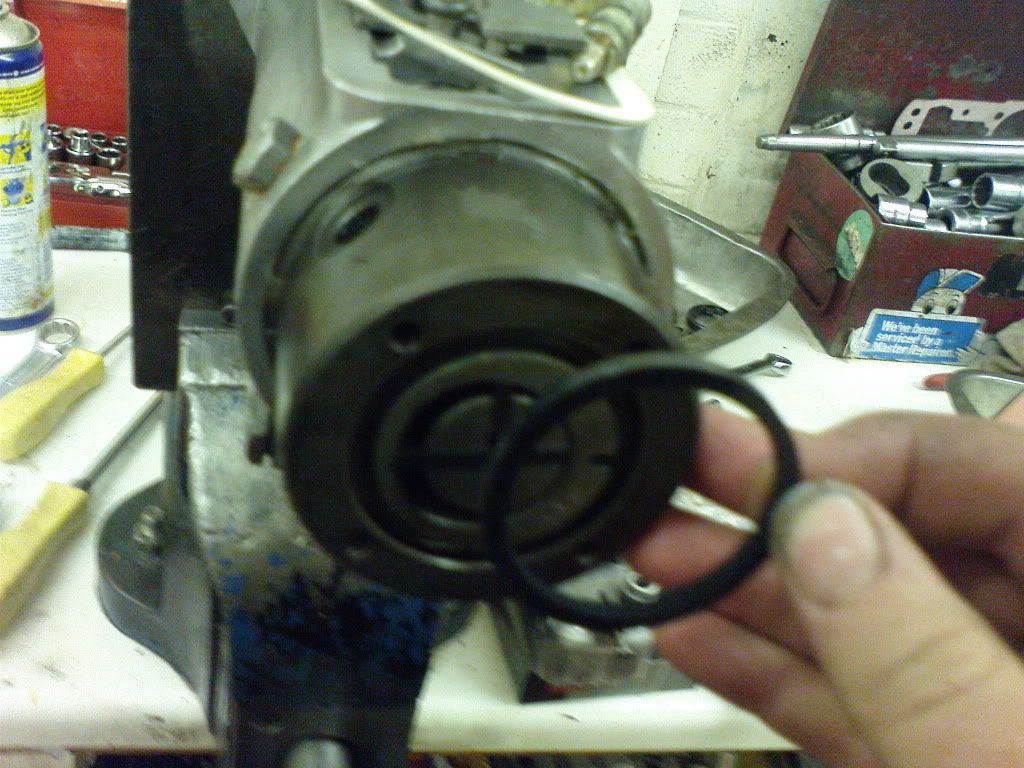
| replace the seal between the head and the casing | |
| http://i446.photobucket.com/albums/qq190/eddie_hitler/DSC01029.jpg | |
| screw the casing the back onto the head being carfull to line | |
| the dowel and the slot up. these screws only need a little more | |
| than a nip. | |
| thats it i hope this was helpfull (and readable ) | |
| :lol: | |
| #Post#: 11783-------------------------------------------------- | |
| Re: 2.25 injection pump filter change | |
| By: hippydave Date: February 17, 2012, 3:30 pm | |
| --------------------------------------------------------- | |
| easy enough for me to understand so others wont struggle | |
| understating it if i get it. | |
| #Post#: 12009-------------------------------------------------- | |
| Re: 2.25 injection pump filter change | |
| By: mr.scruff Date: February 18, 2012, 4:10 pm | |
| --------------------------------------------------------- | |
| Nice one! | |
| #Post#: 12052-------------------------------------------------- | |
| Re: 2.25 injection pump filter change | |
| By: eddie hitler Date: February 19, 2012, 4:31 am | |
| --------------------------------------------------------- | |
| cheers lads | |
| #Post#: 13503-------------------------------------------------- | |
| Re: 2.25 injection pump filter change | |
| By: rangerovering Date: March 1, 2012, 8:46 am | |
| --------------------------------------------------------- | |
| Cool post! | |
| Does this filter exist on the 2.5d and td engines as well? Might | |
| check mine | |
| #Post#: 13505-------------------------------------------------- | |
| Re: 2.25 injection pump filter change | |
| By: Snailer Date: March 1, 2012, 9:43 am | |
| --------------------------------------------------------- | |
| Looks good, good write up. | |
| Are you saying that the seals are the only thing that needs | |
| doing or is there any calibration that also needs doing? | |
| #Post#: 13675-------------------------------------------------- | |
| Re: 2.25 injection pump filter change | |
| By: eddie hitler Date: March 3, 2012, 3:47 am | |
| --------------------------------------------------------- | |
| on that bit its just seals no setting needed | |
| and the 2.5 is similar but not the same in this area | |
| cheers | |
| #Post#: 98079-------------------------------------------------- | |
| Re: 2.25 injection pump filter change | |
| By: Gozo_Joseph Date: June 20, 2015, 10:56 am | |
| --------------------------------------------------------- | |
| sorry to butt in but have you got a clue about how would a worn | |
| distributor pump sound like? | |
| does it sound rattly when using a long screw driver against its | |
| body and ear? | |
| joseph | |
| ***************************************************** |